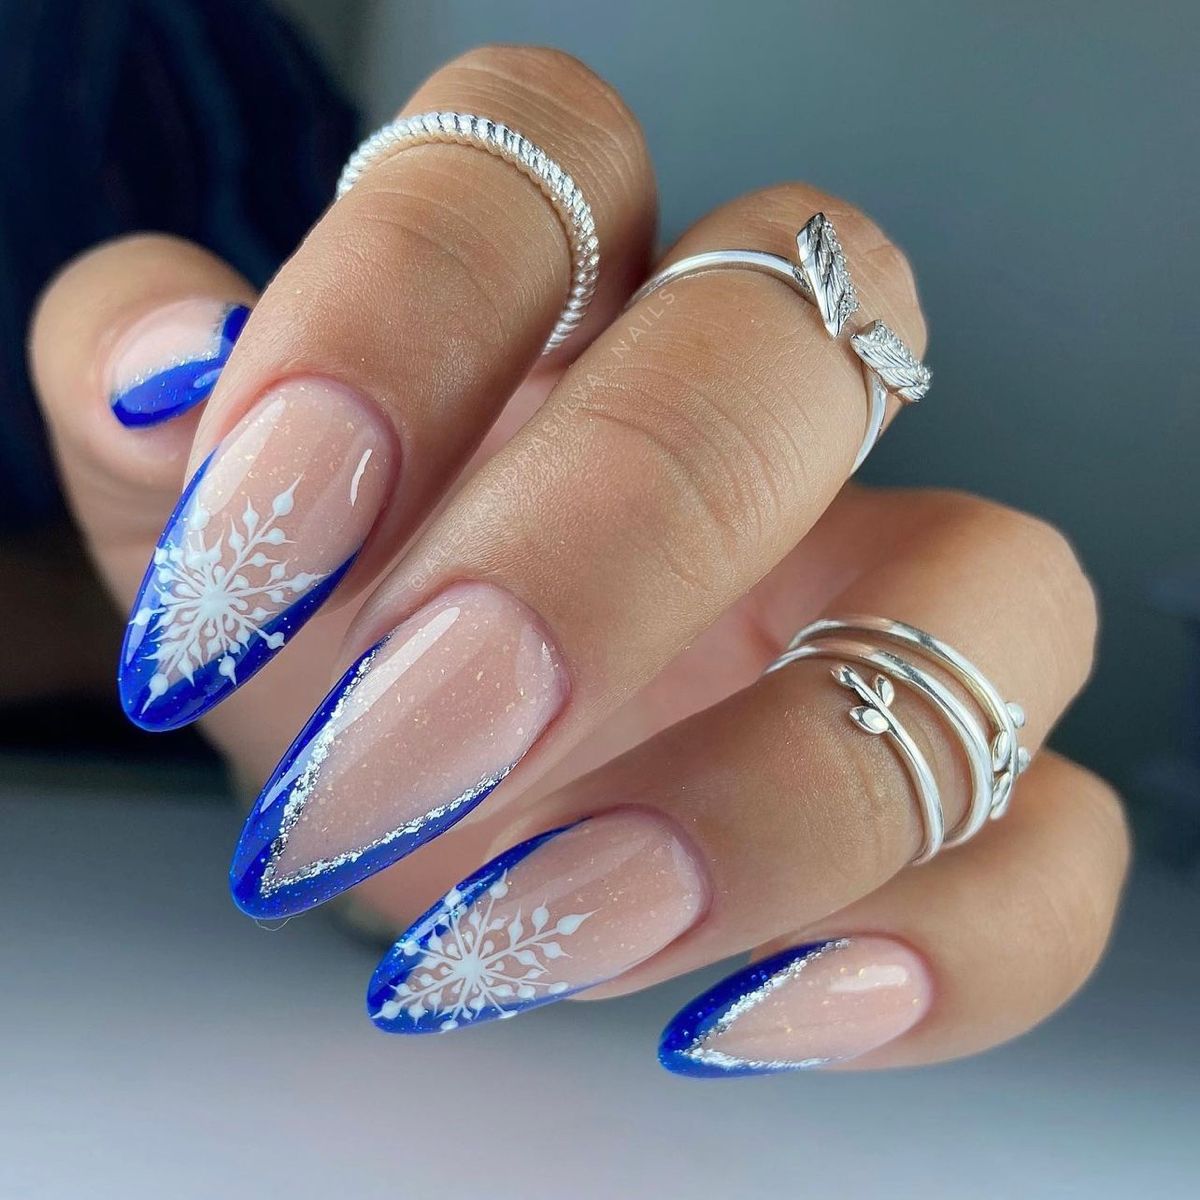
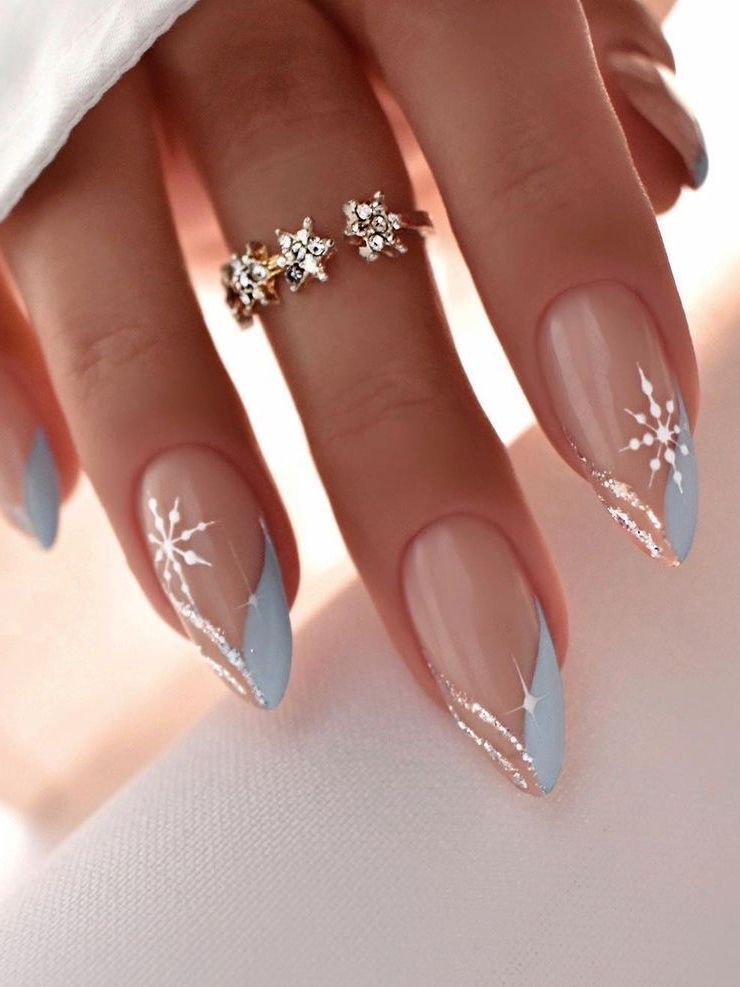
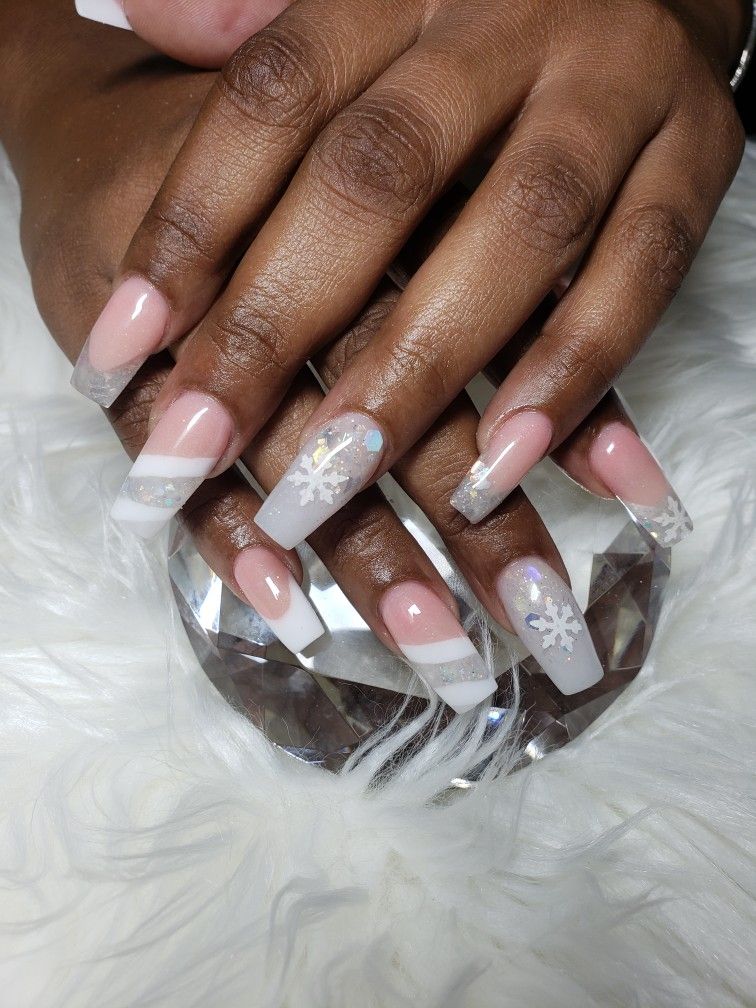
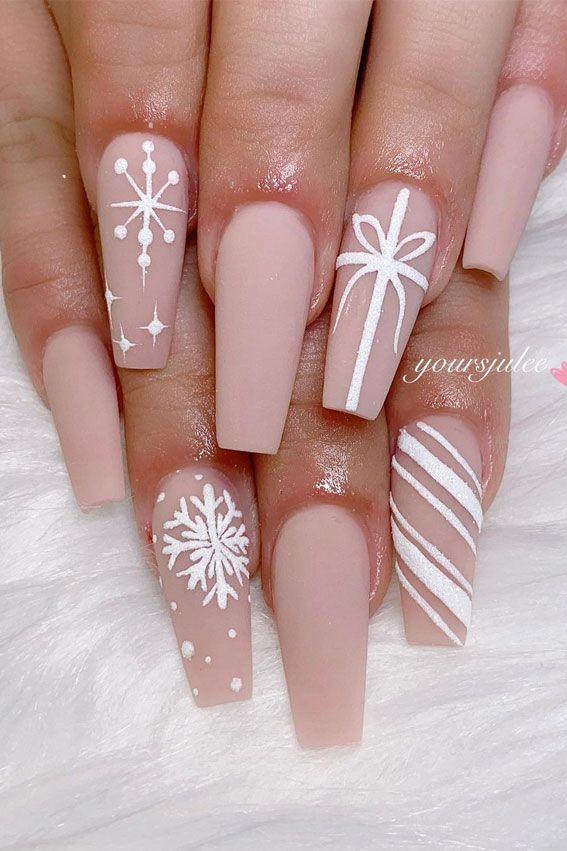
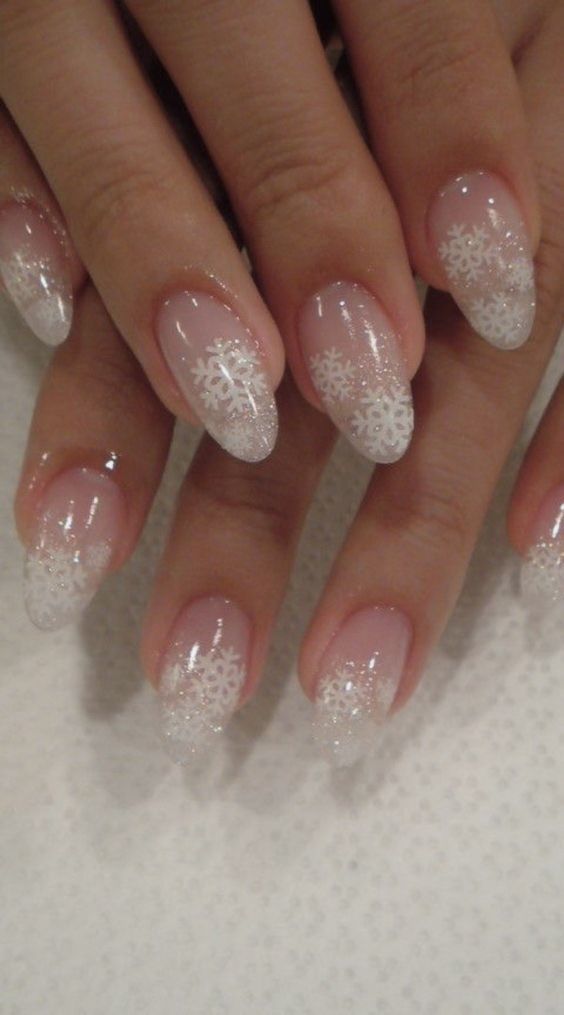
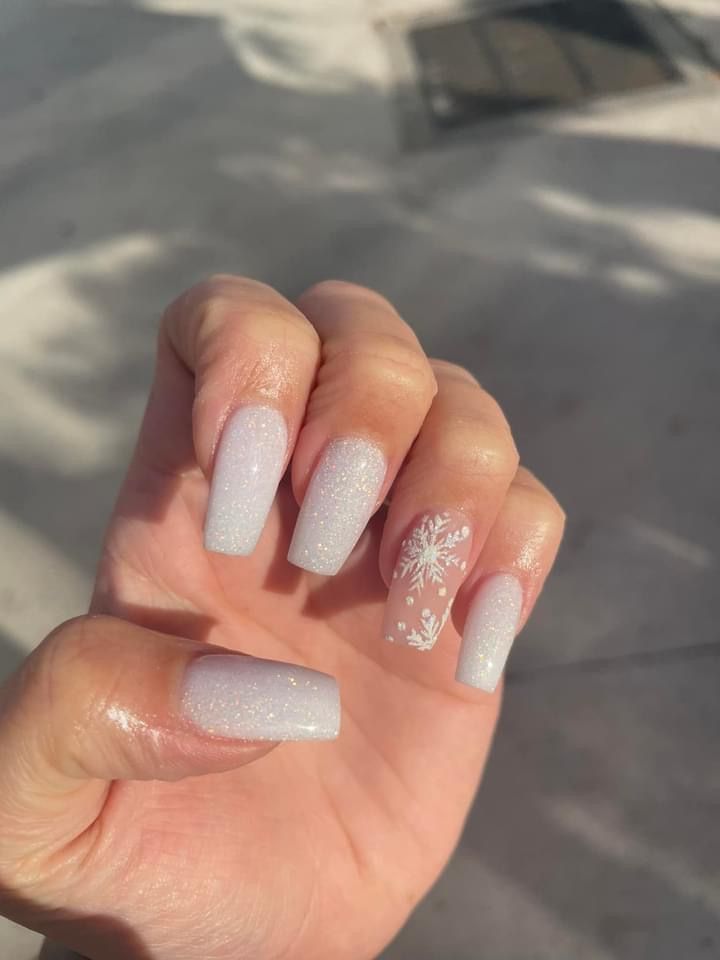
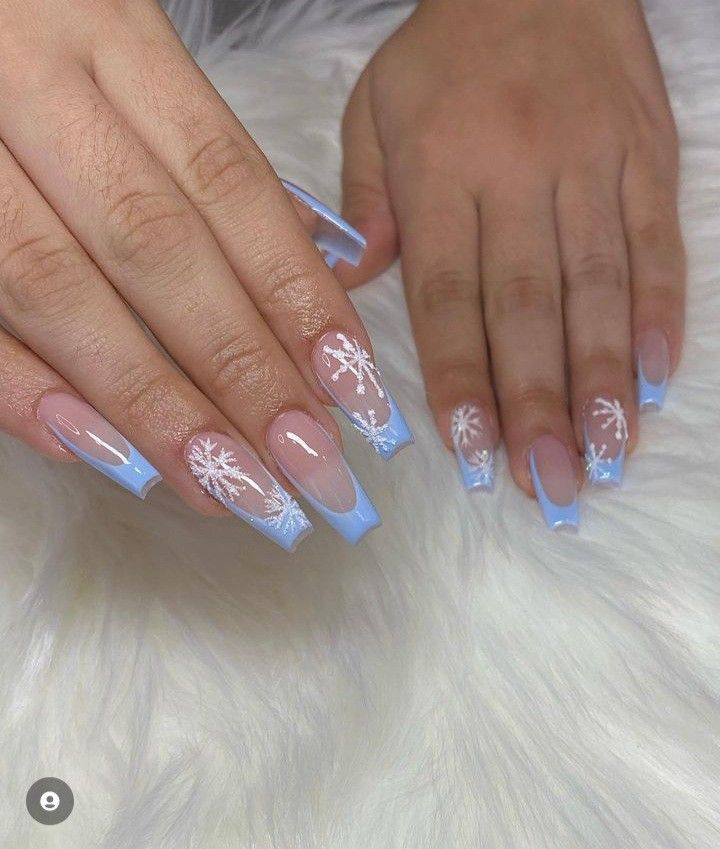
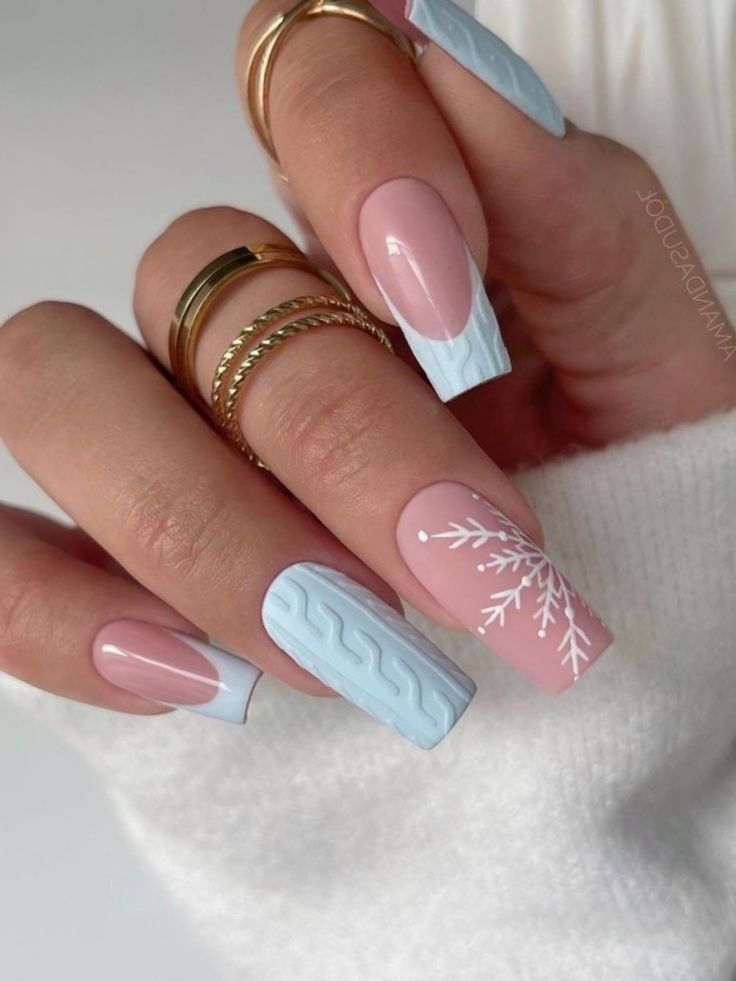
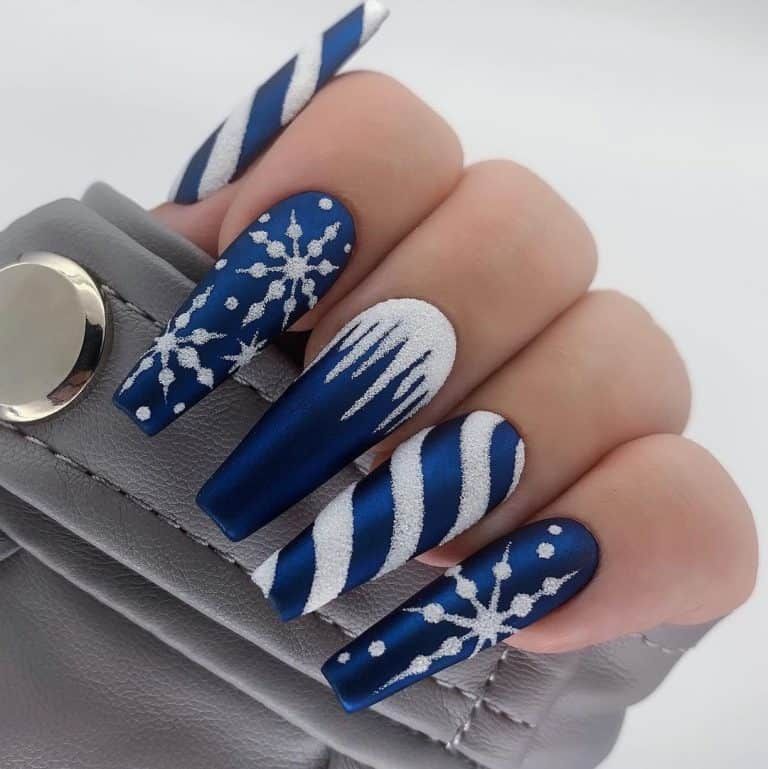
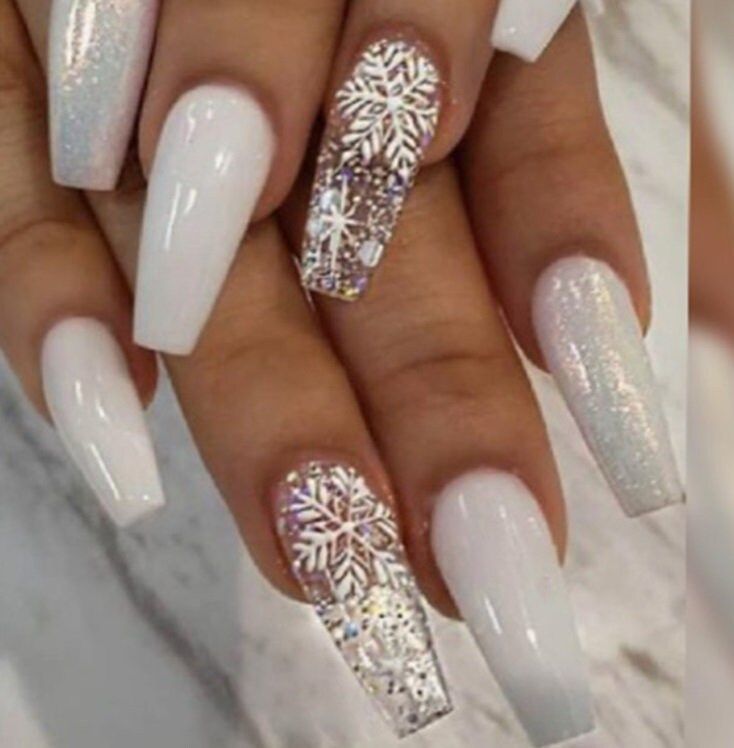
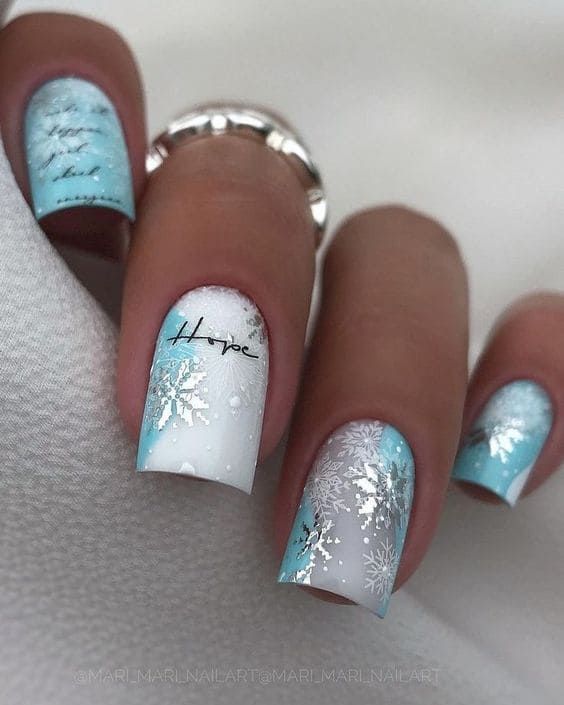
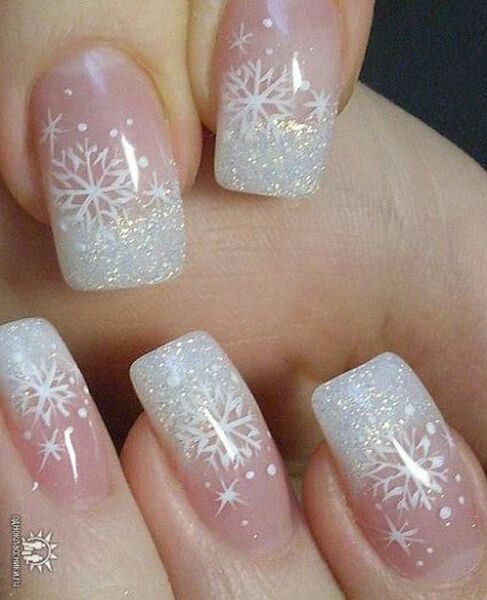
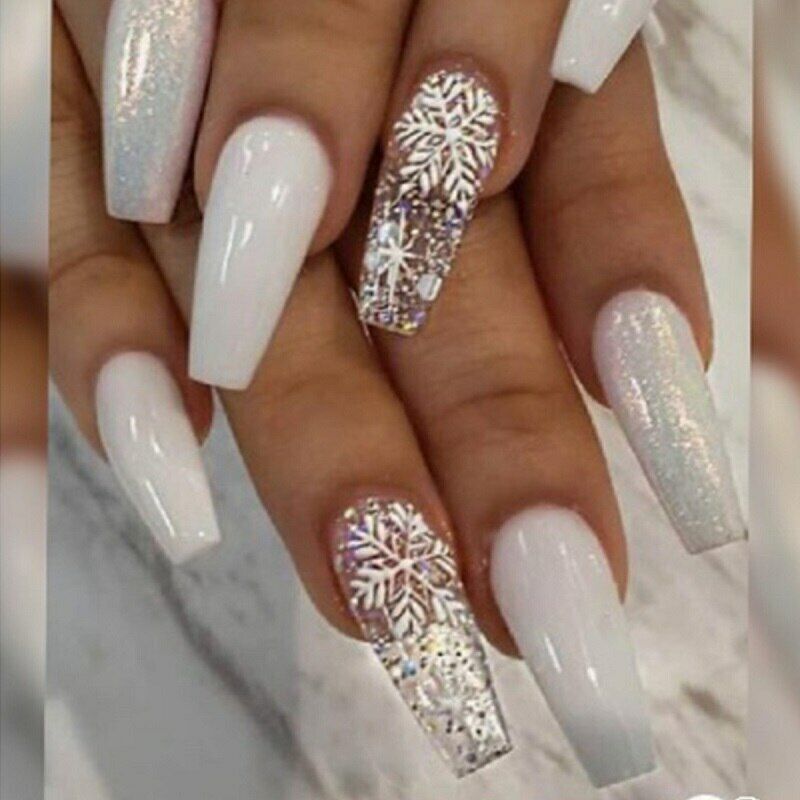
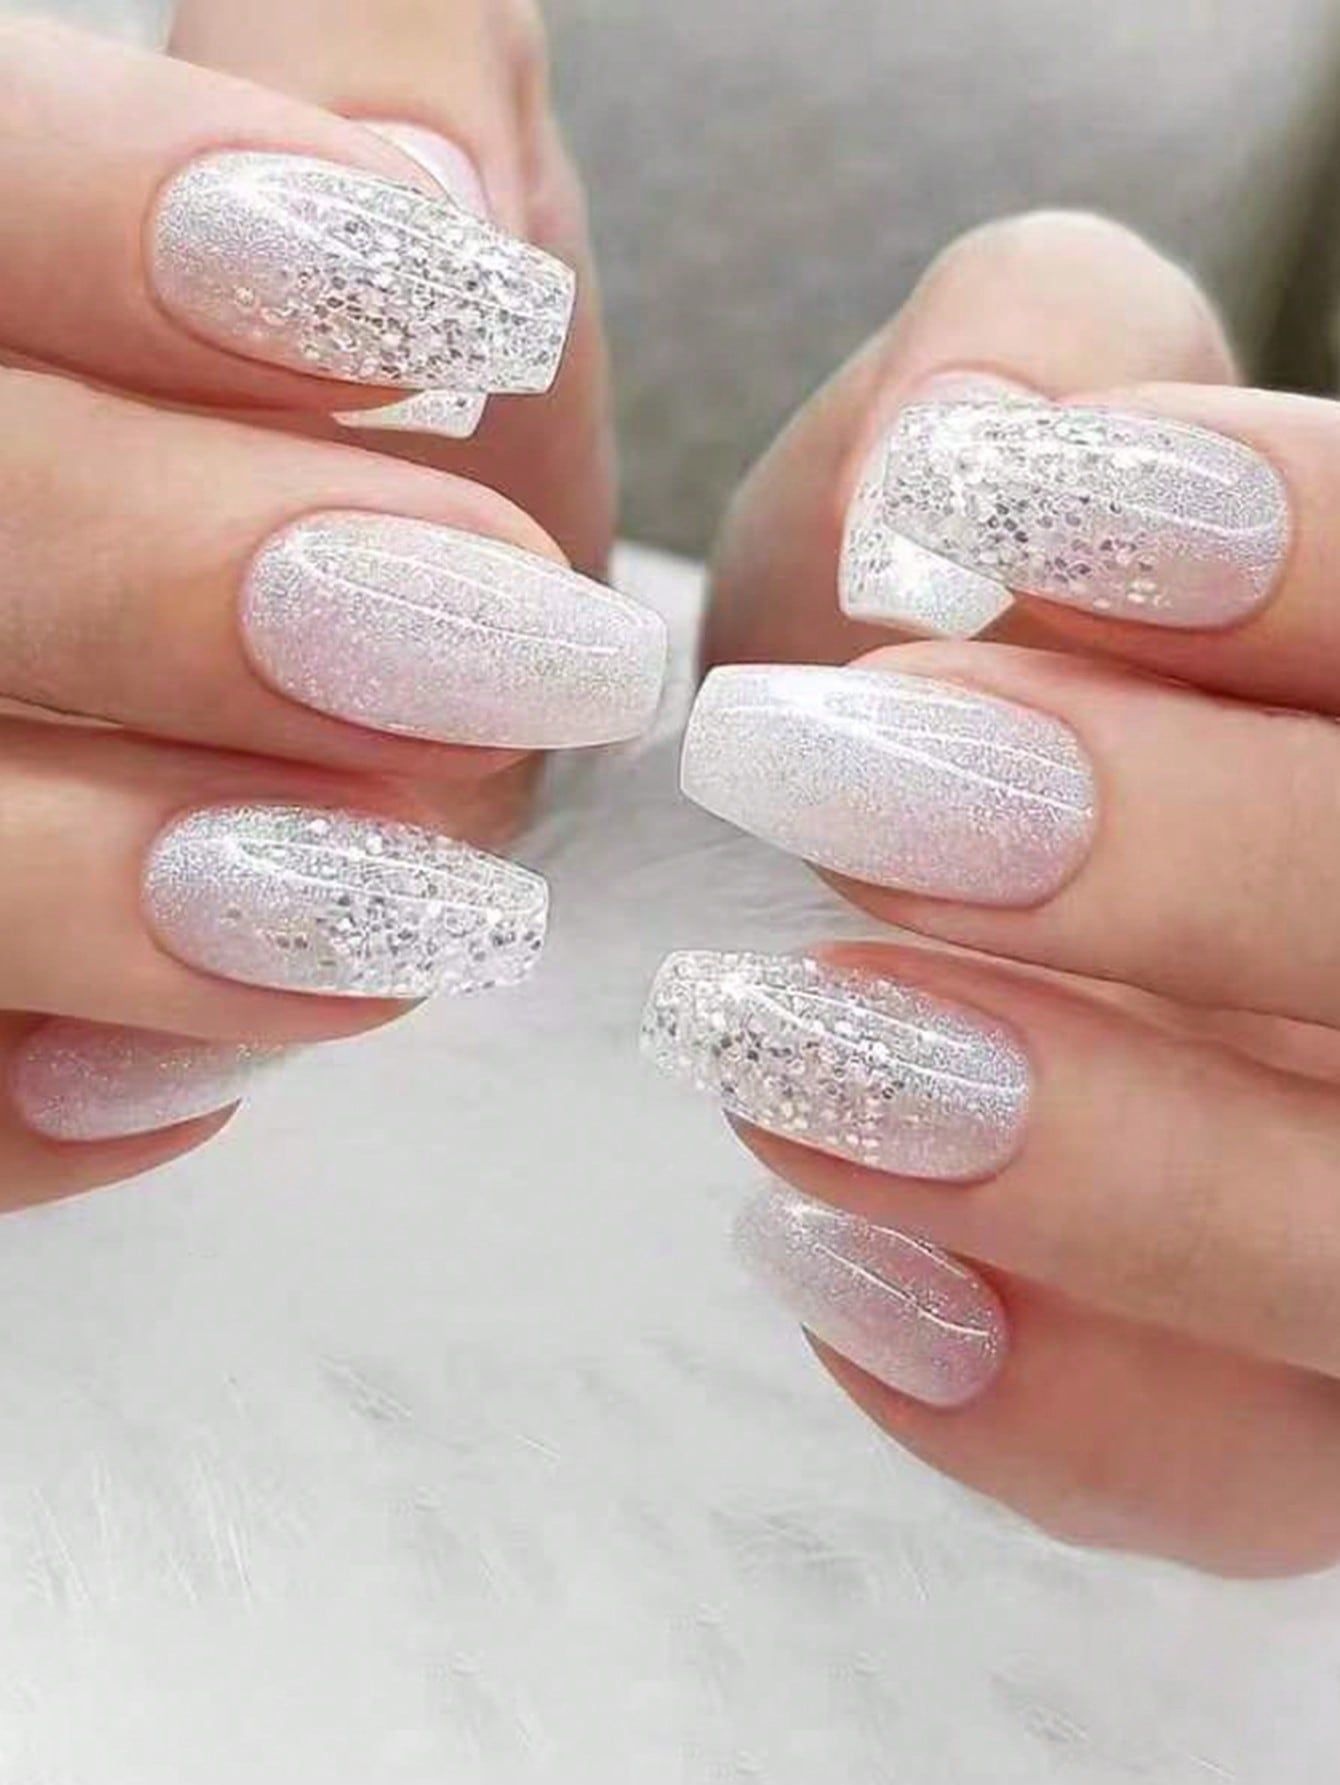
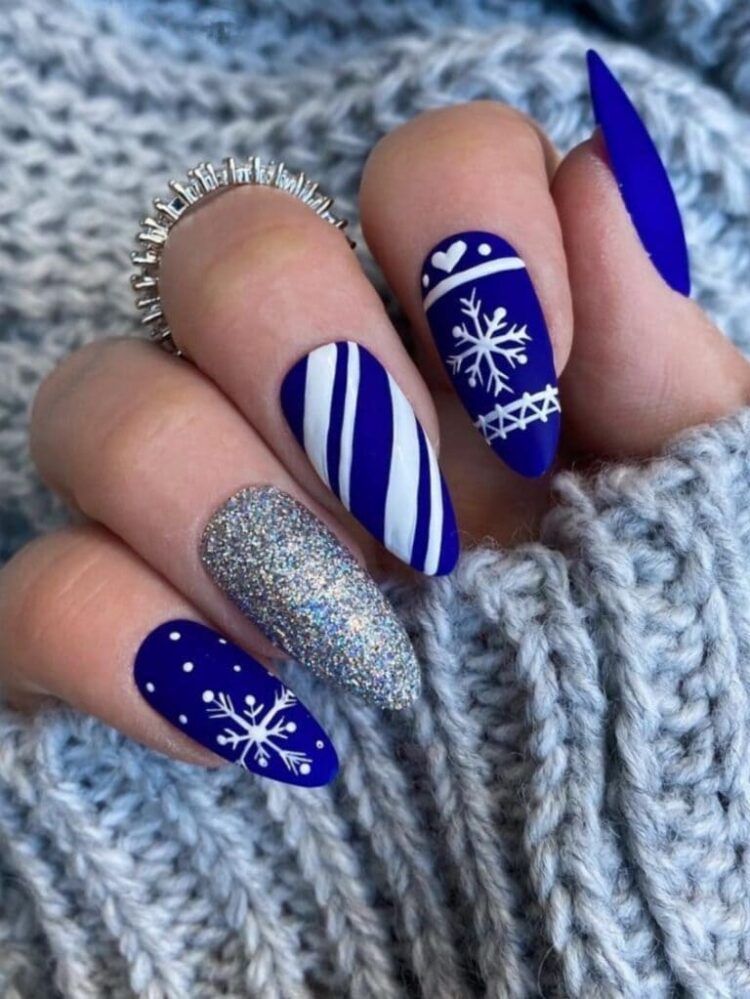
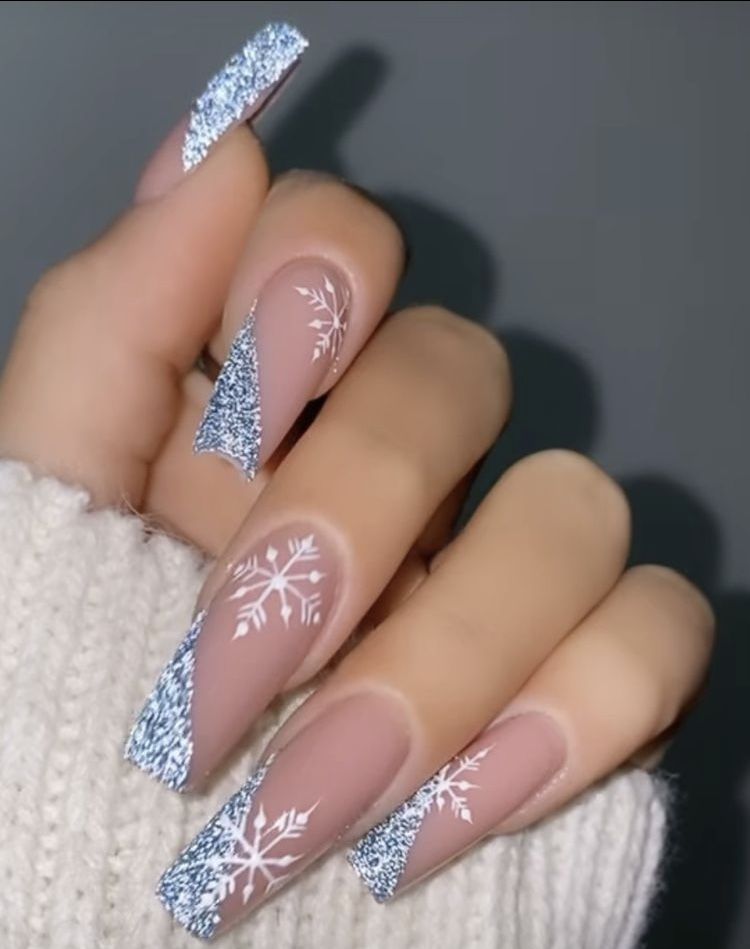
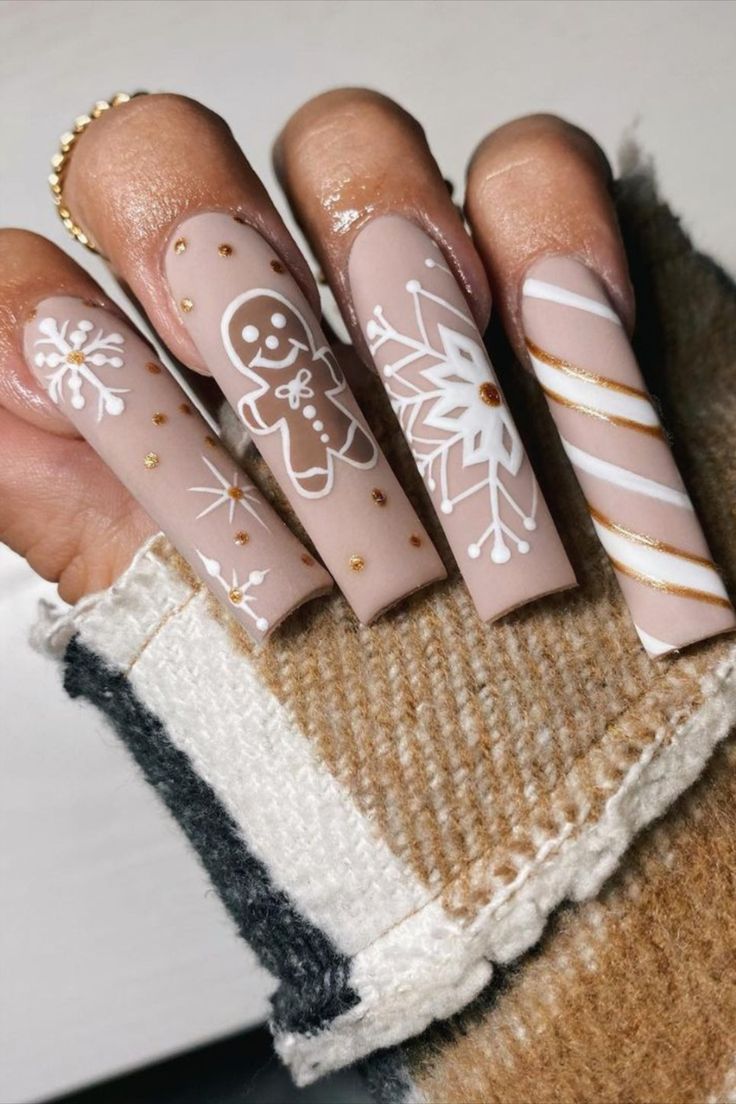
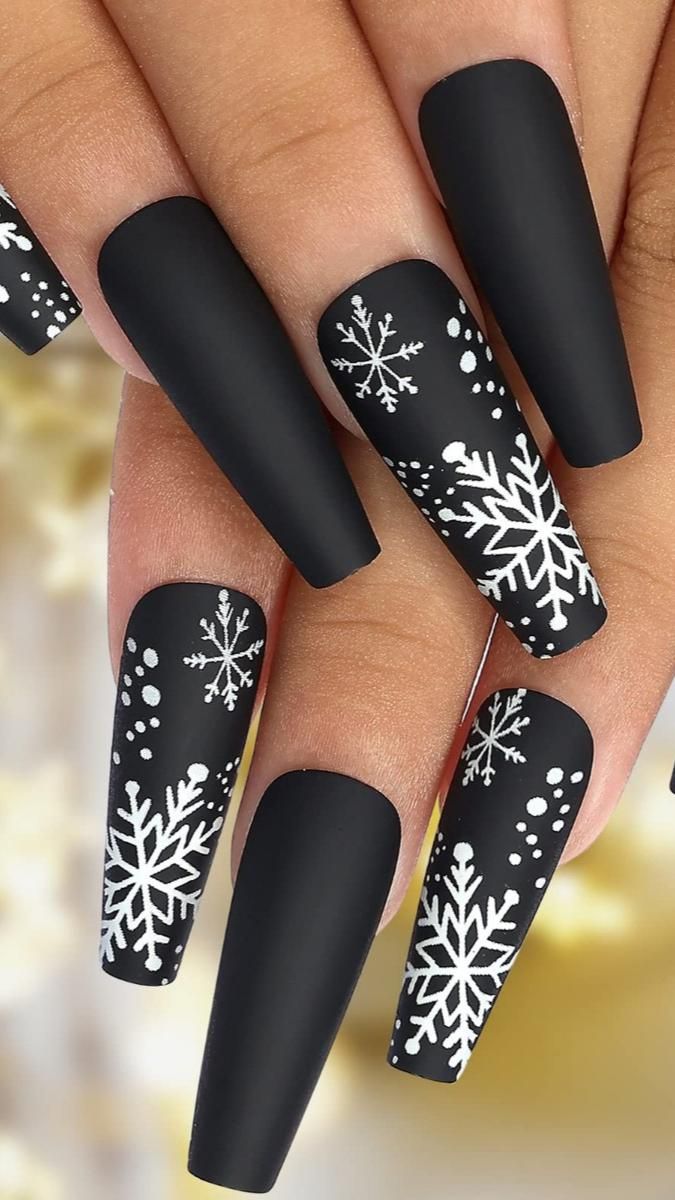
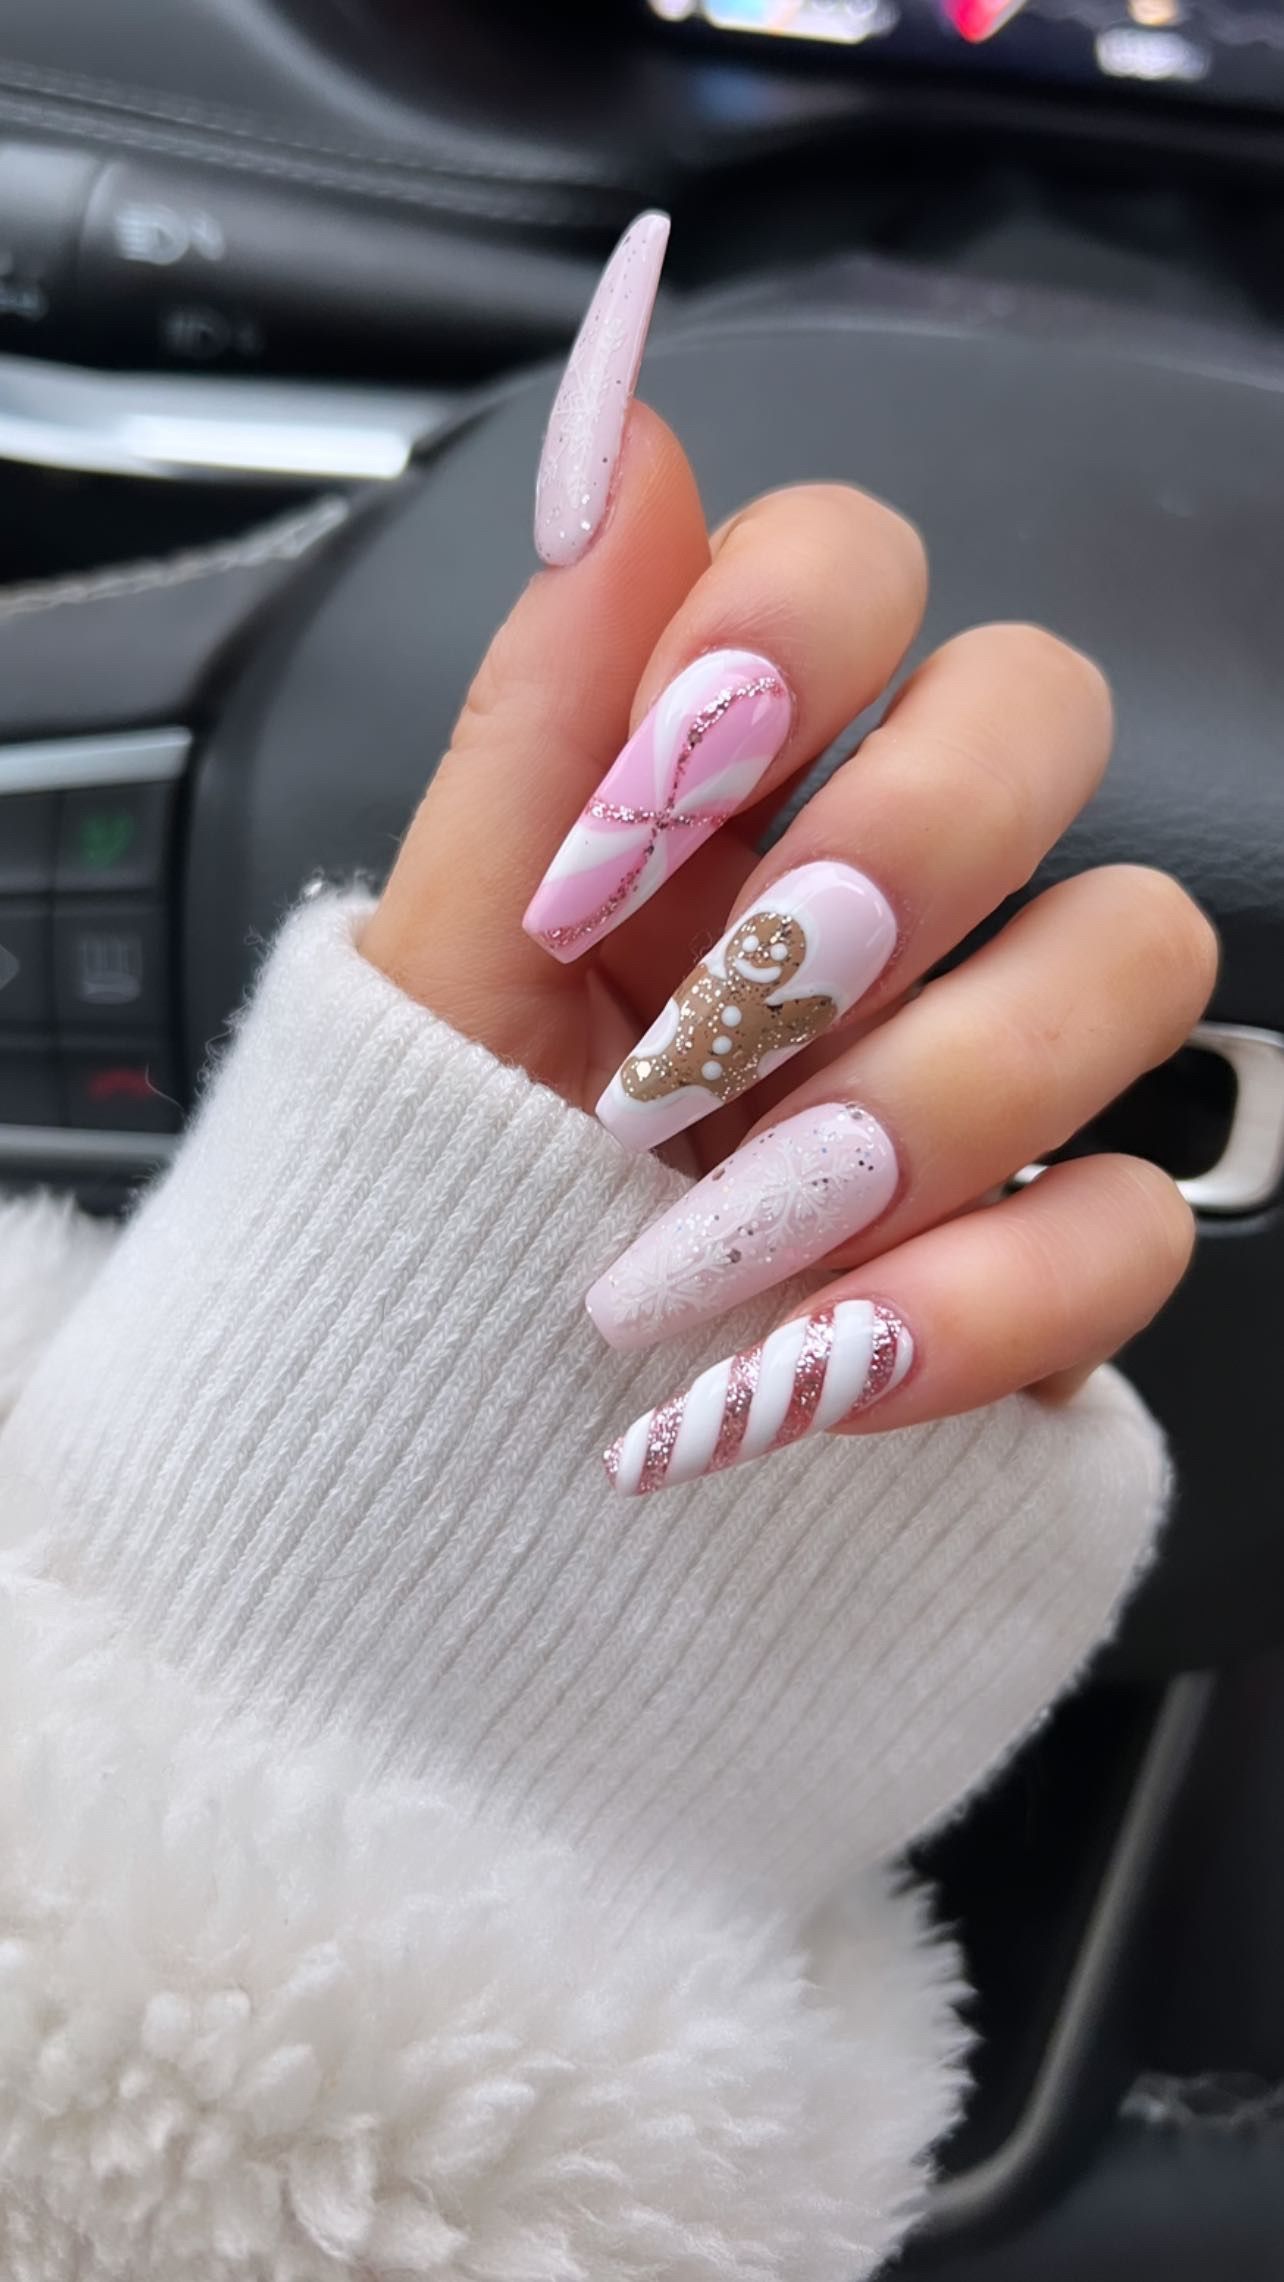
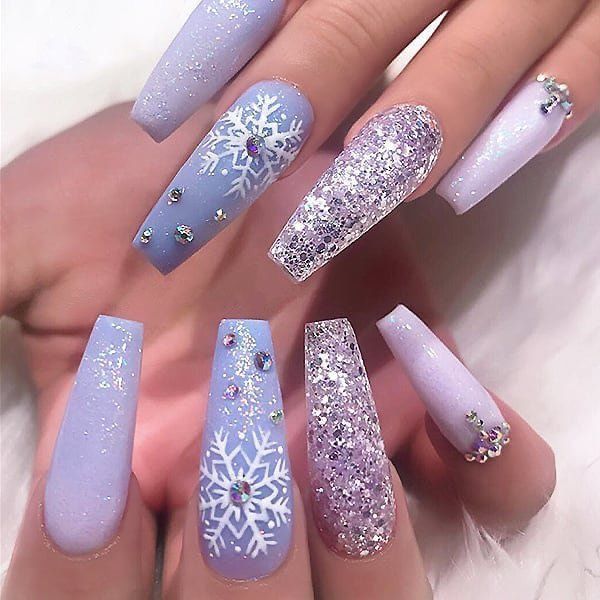
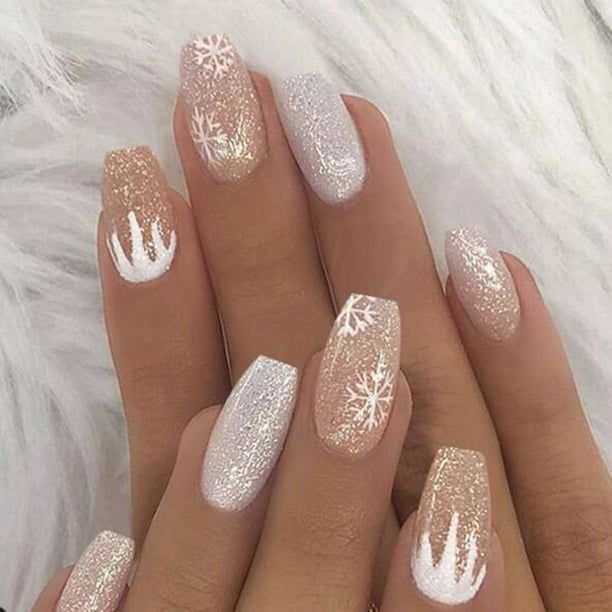
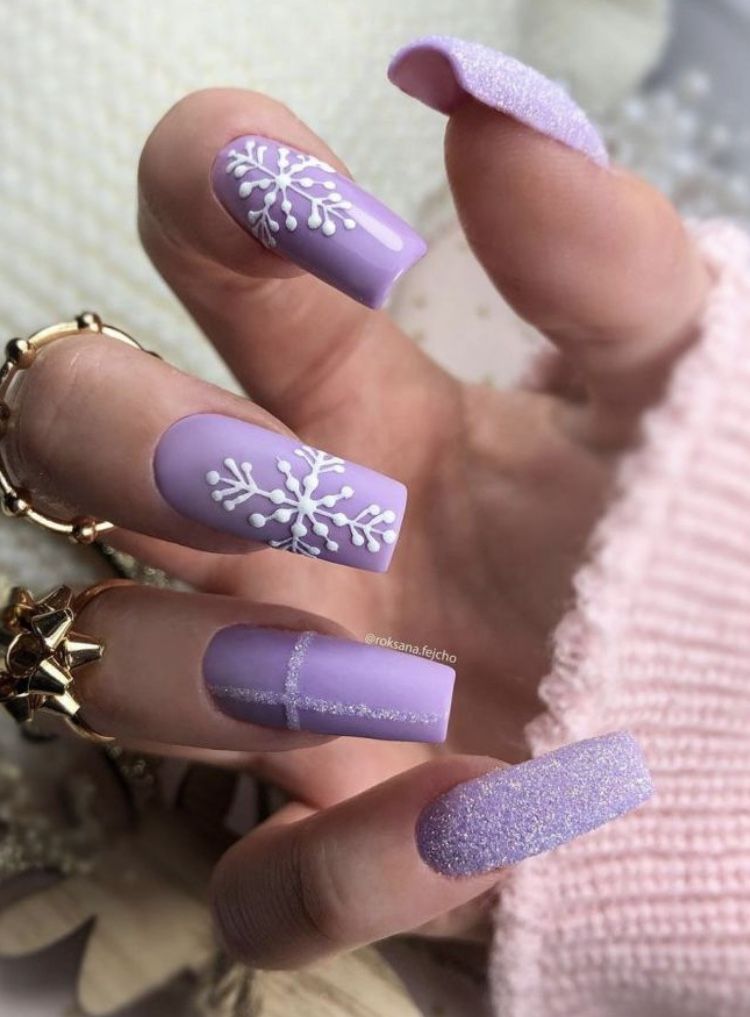
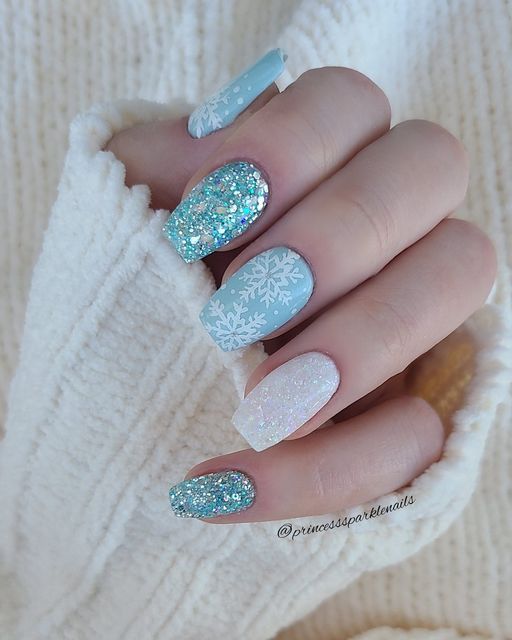
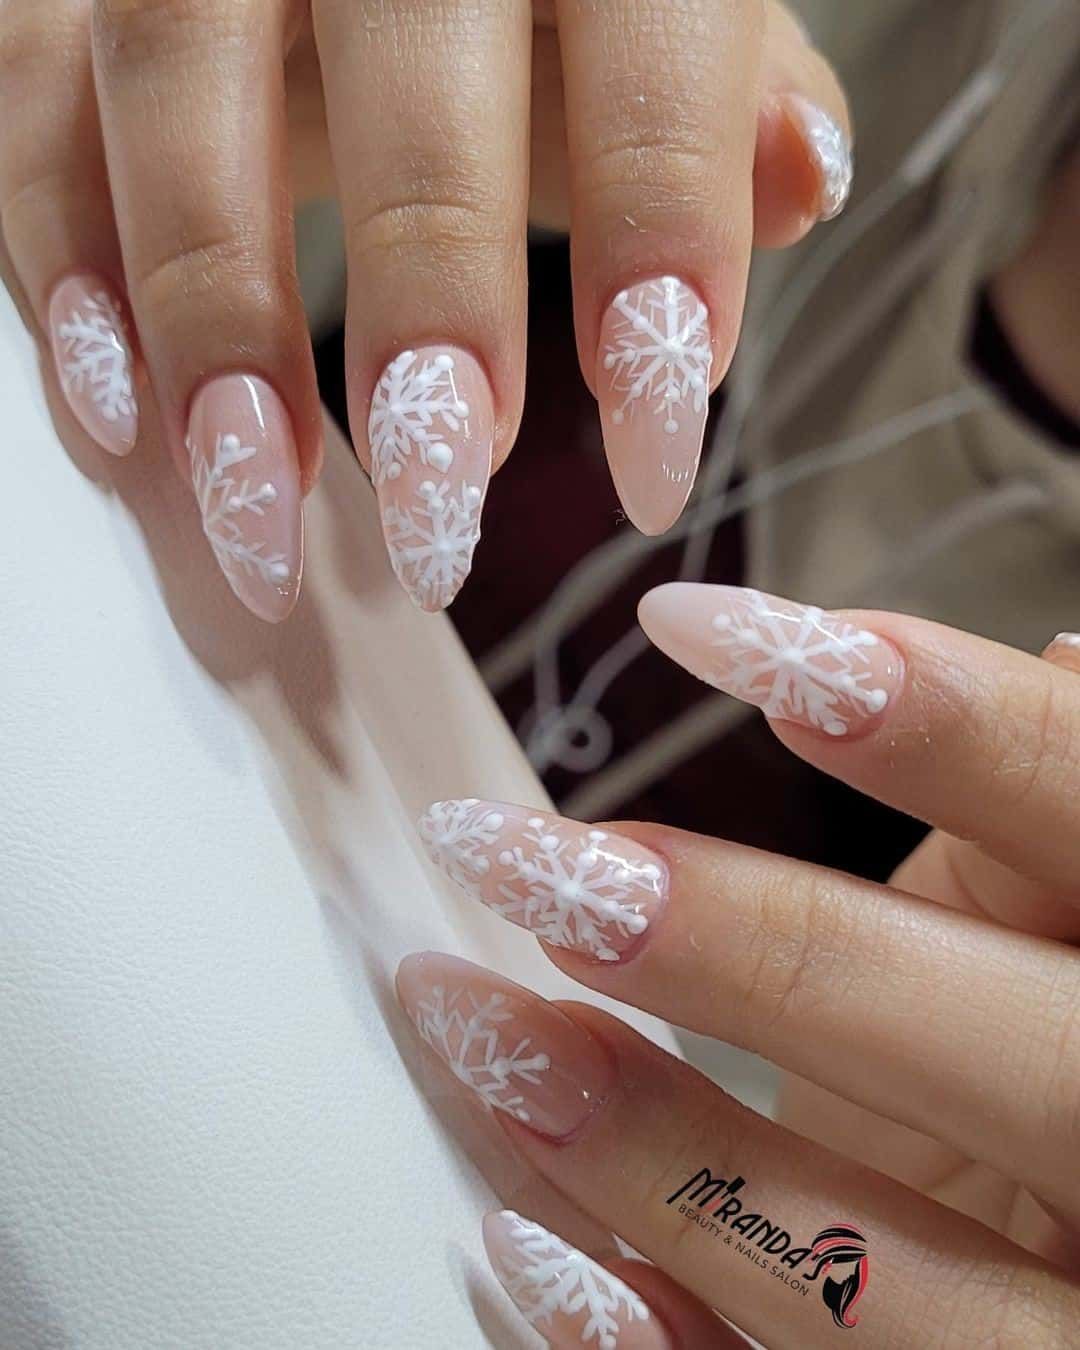
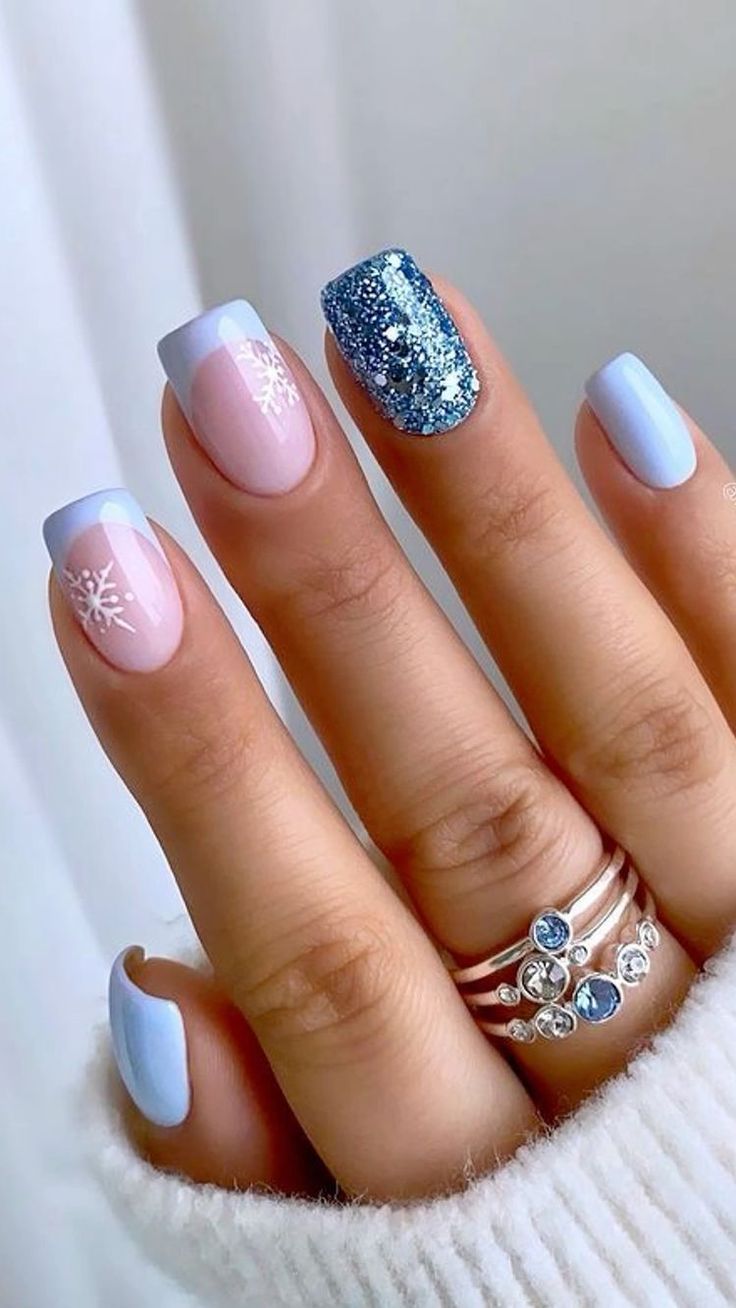
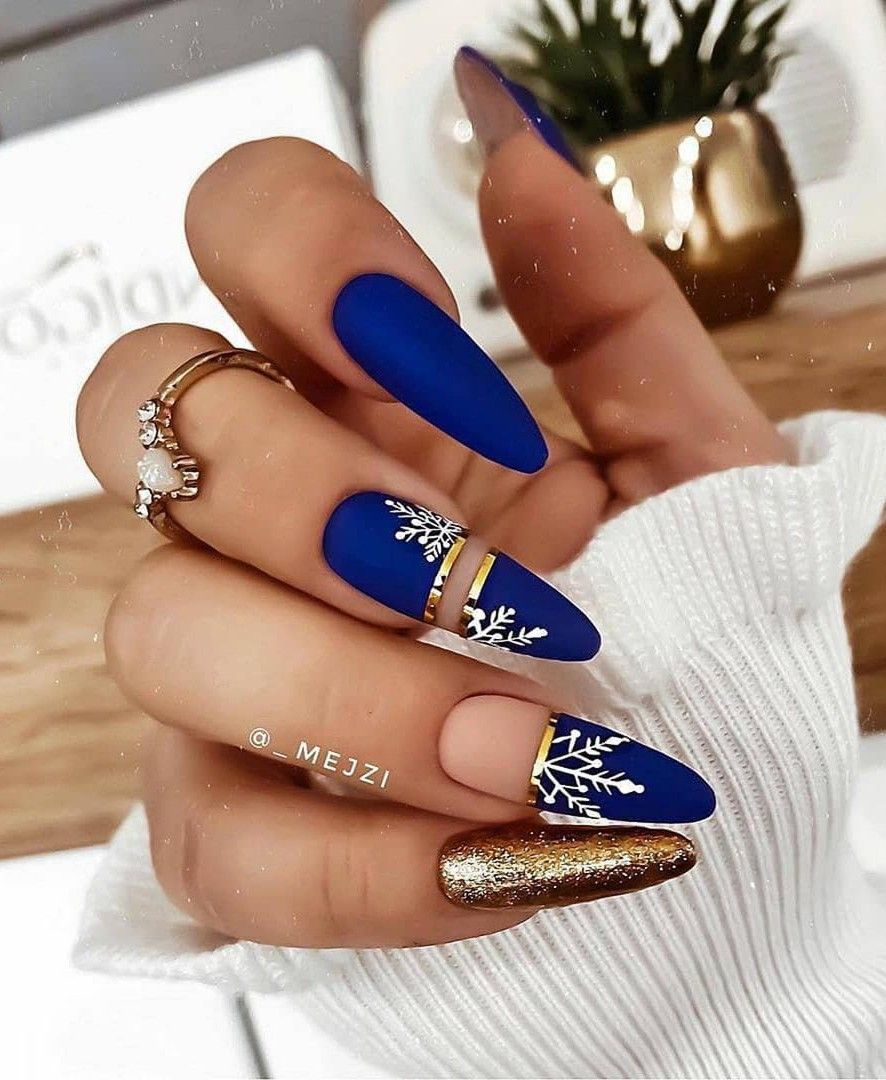
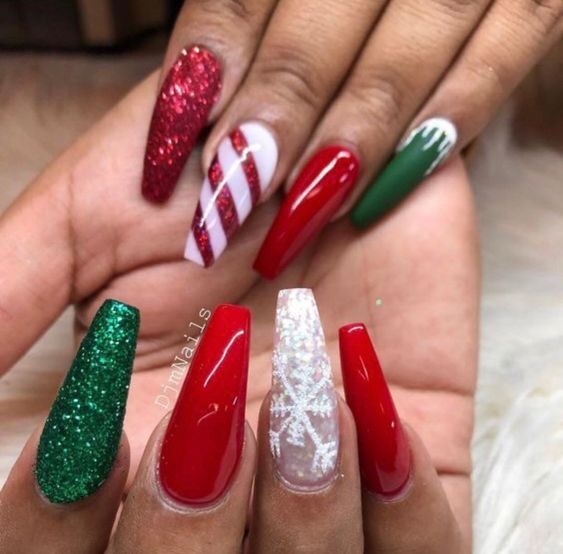
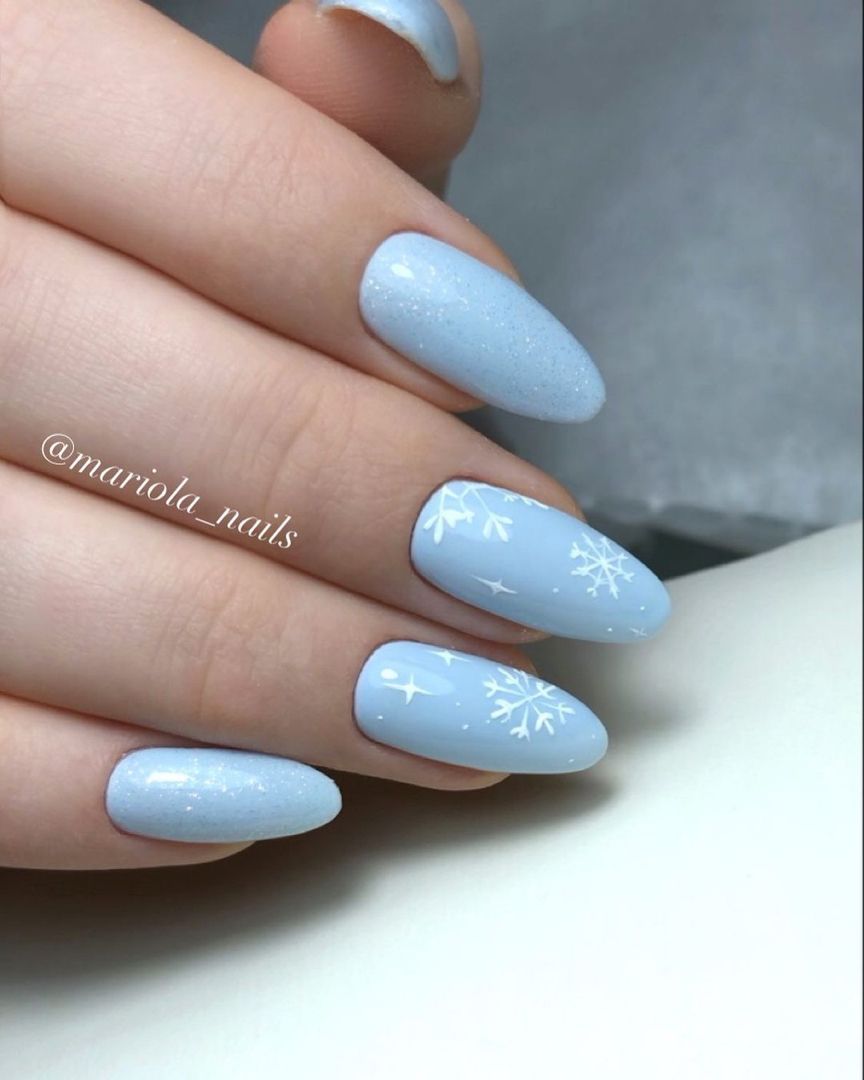
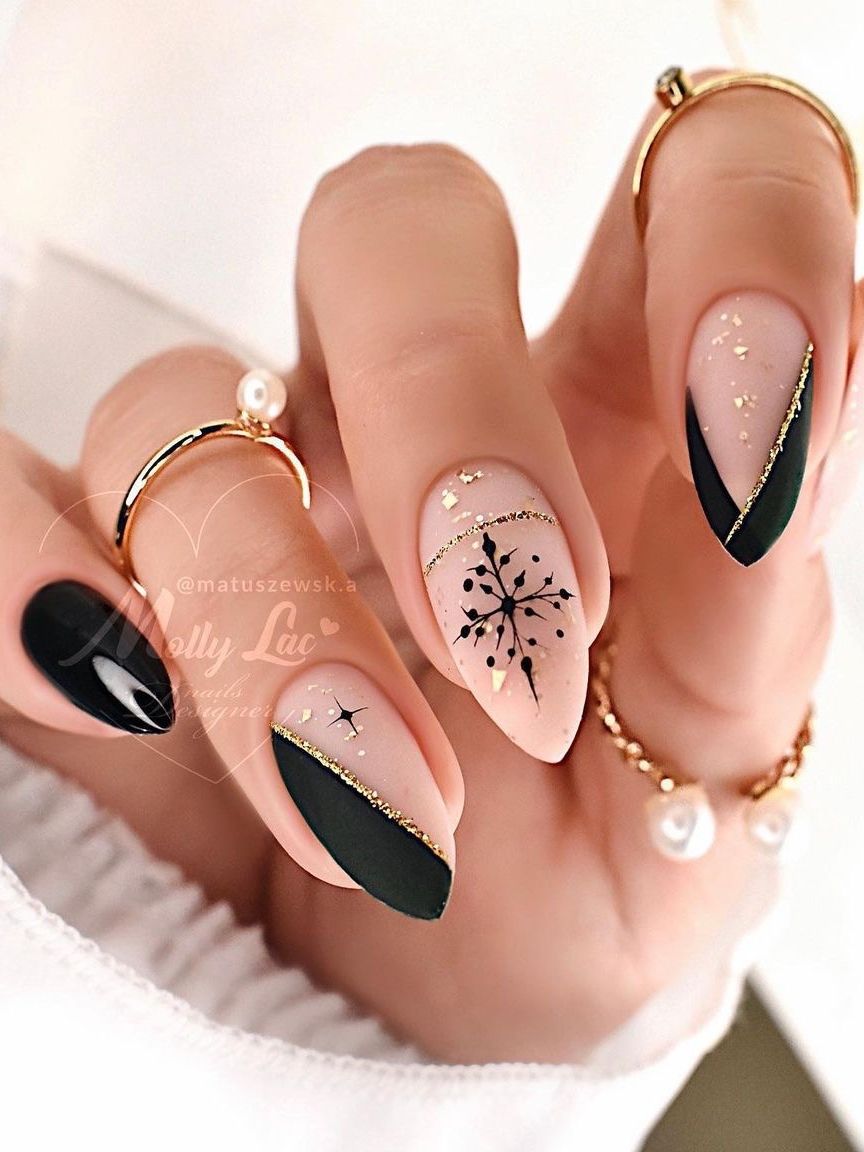
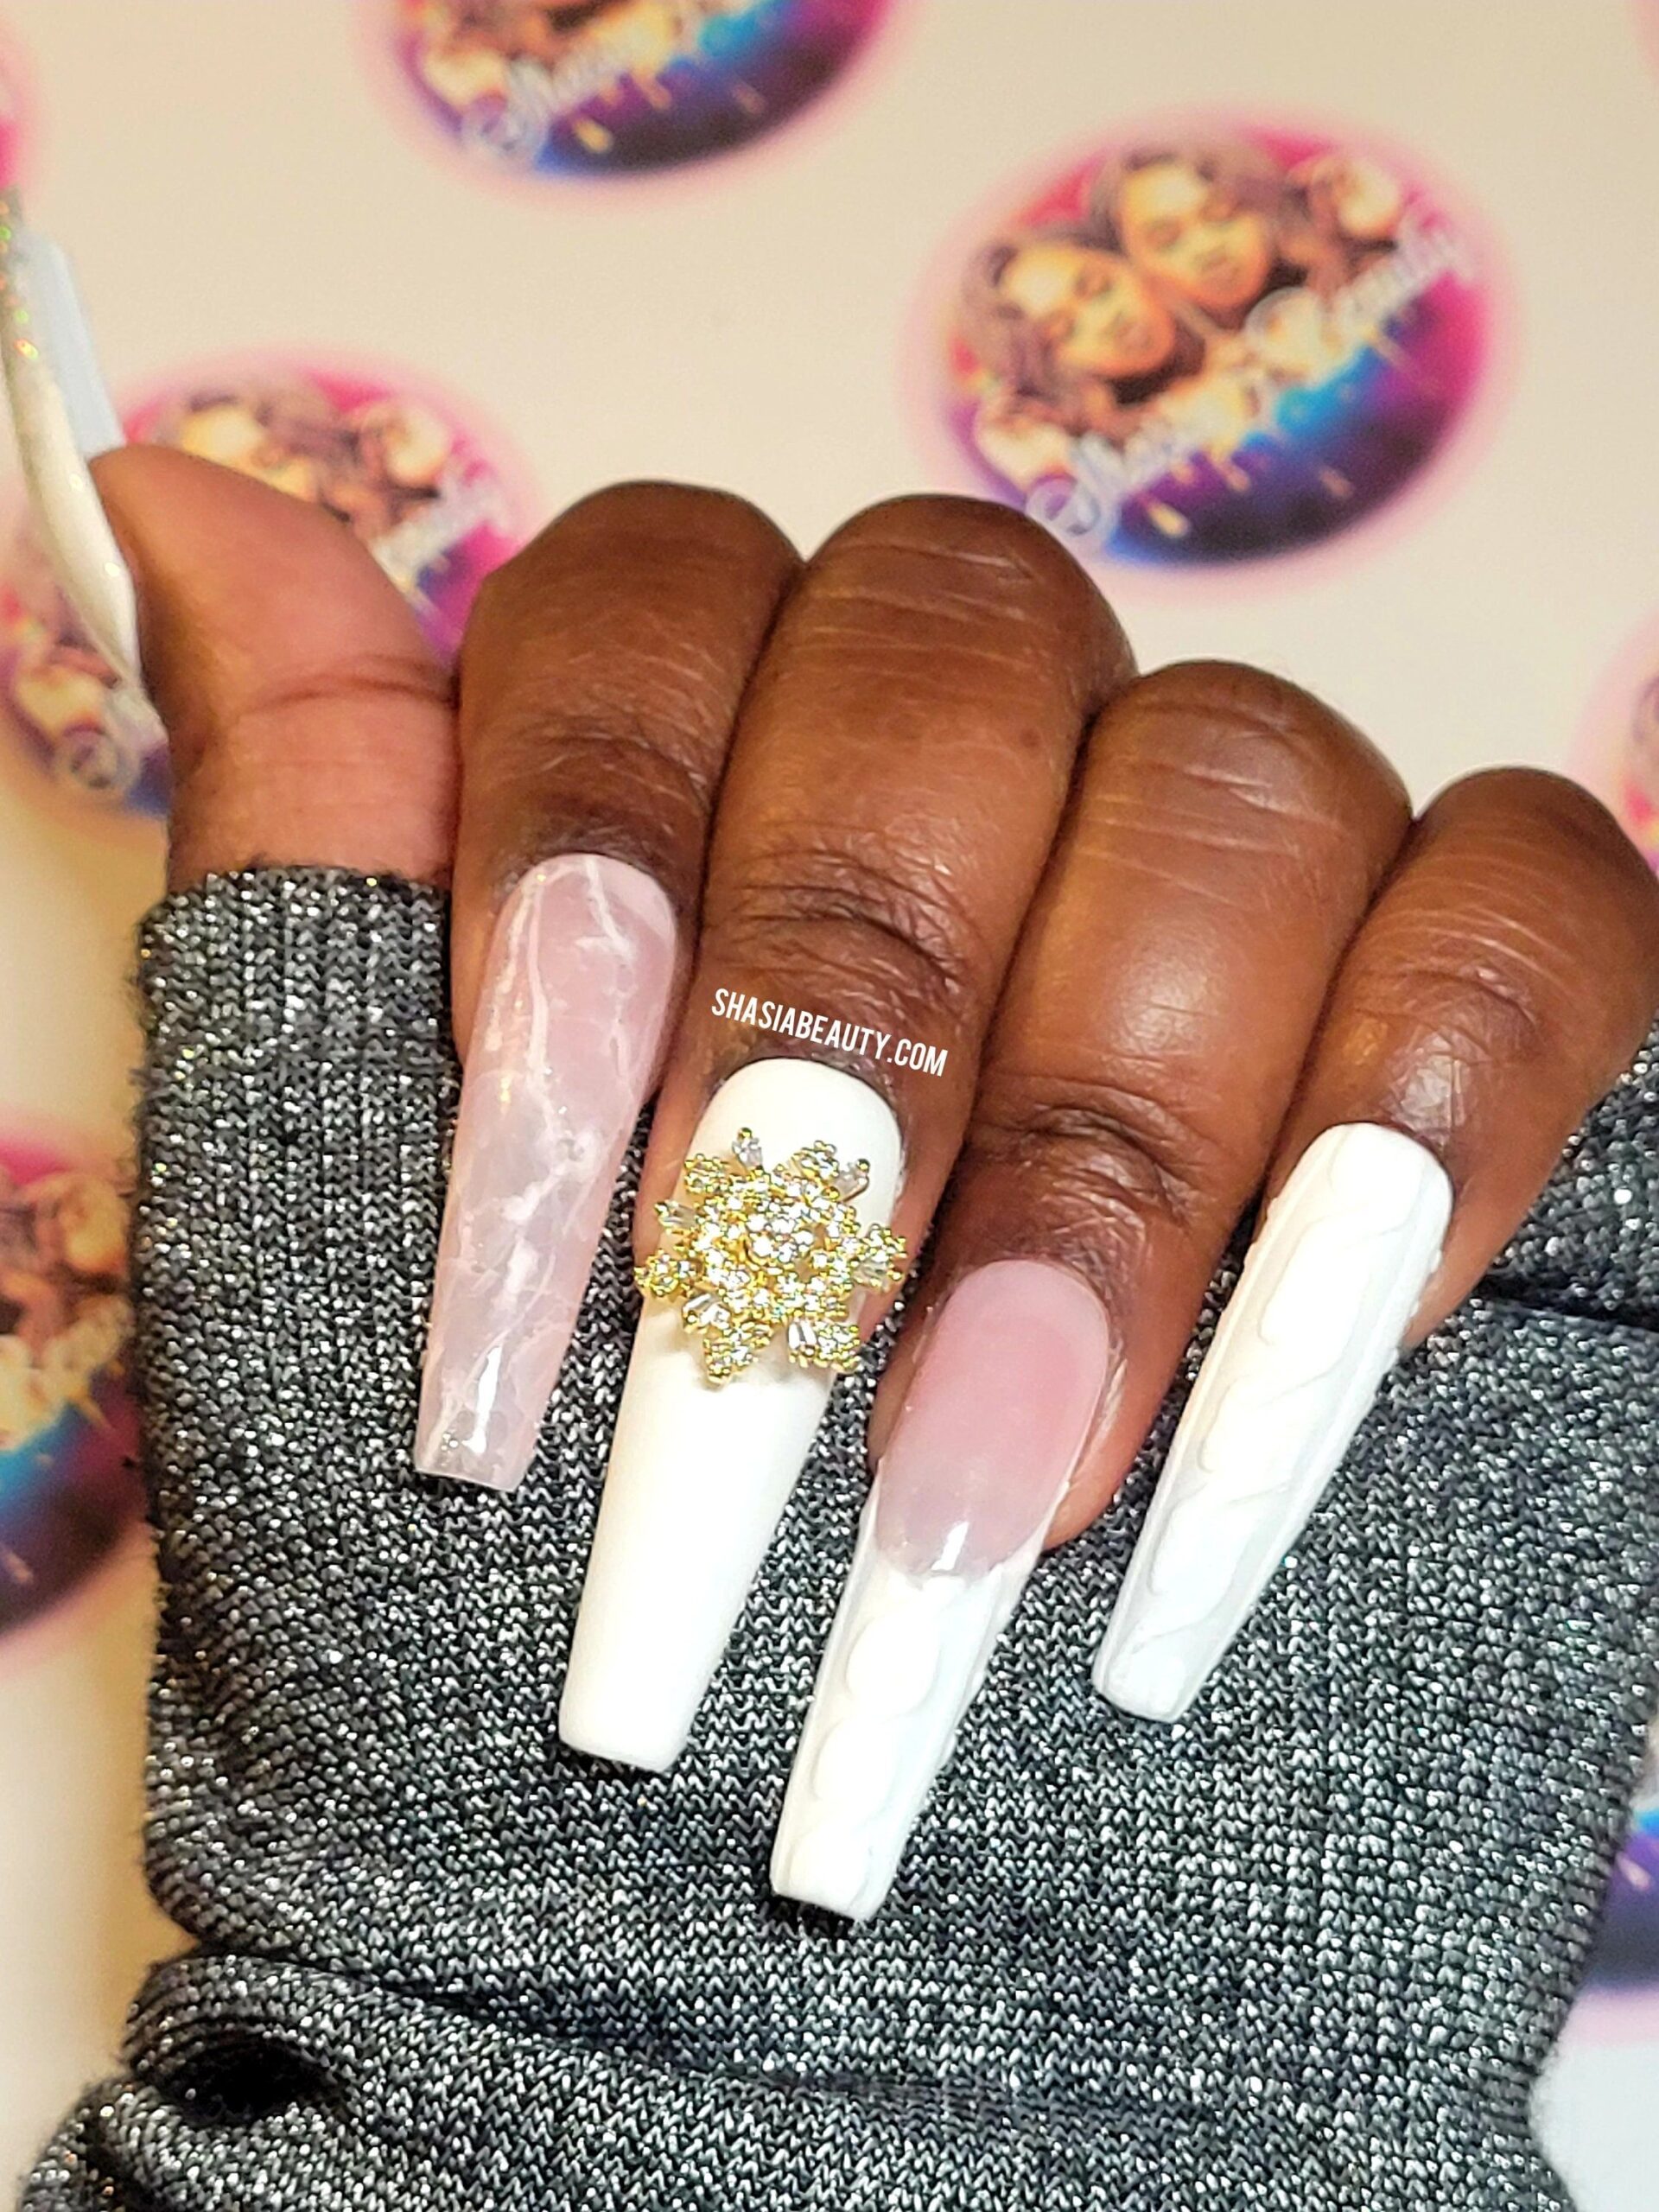
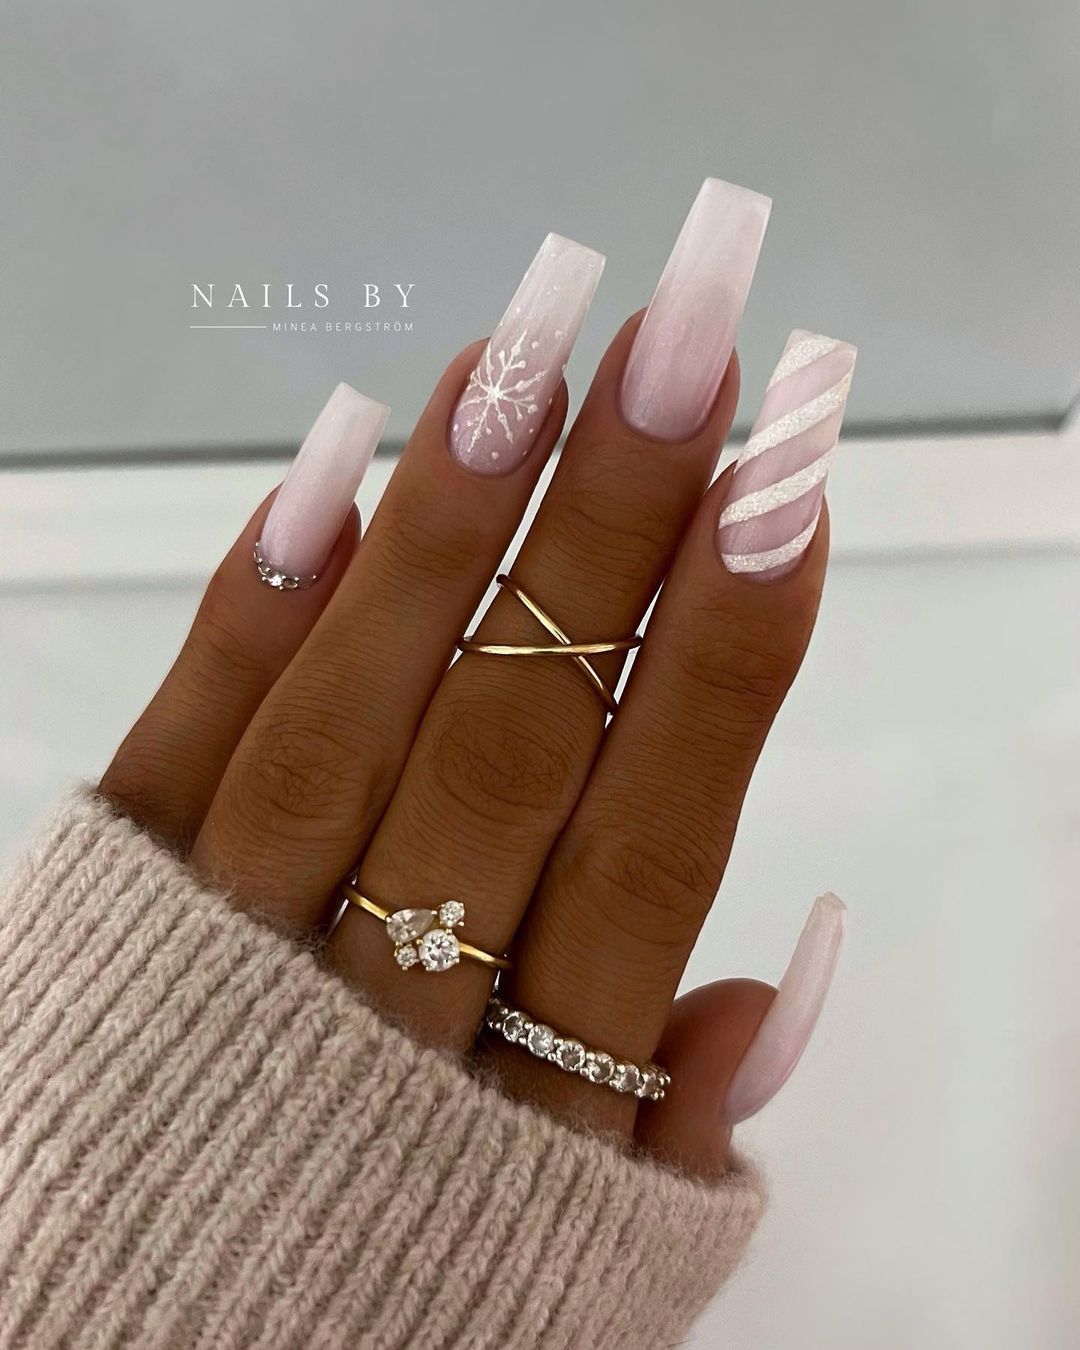
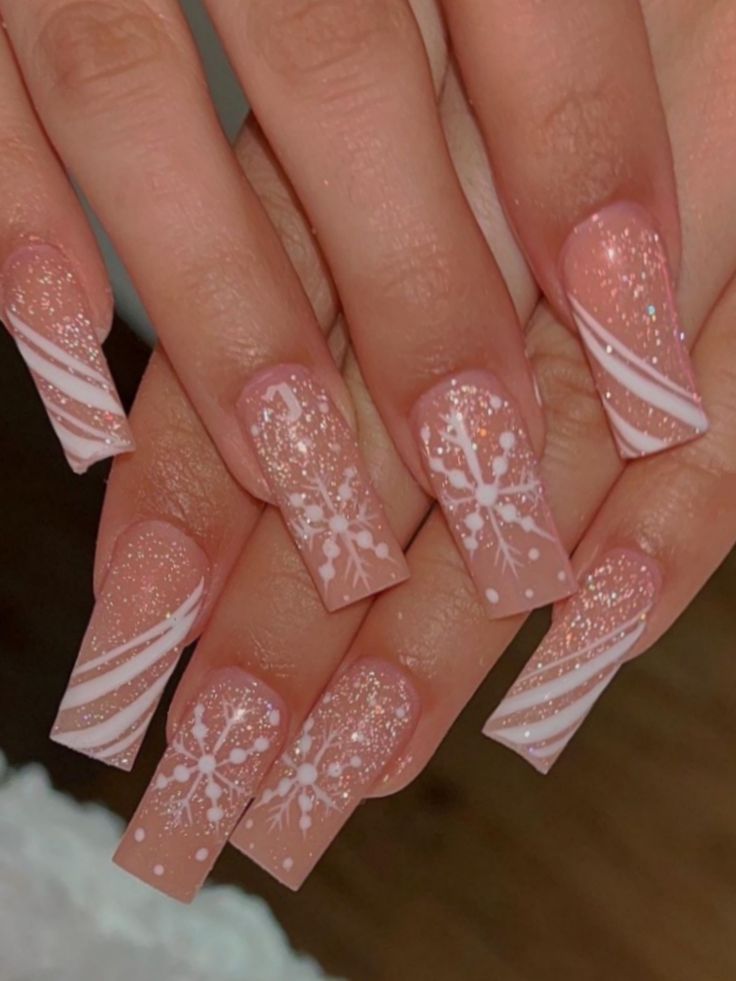
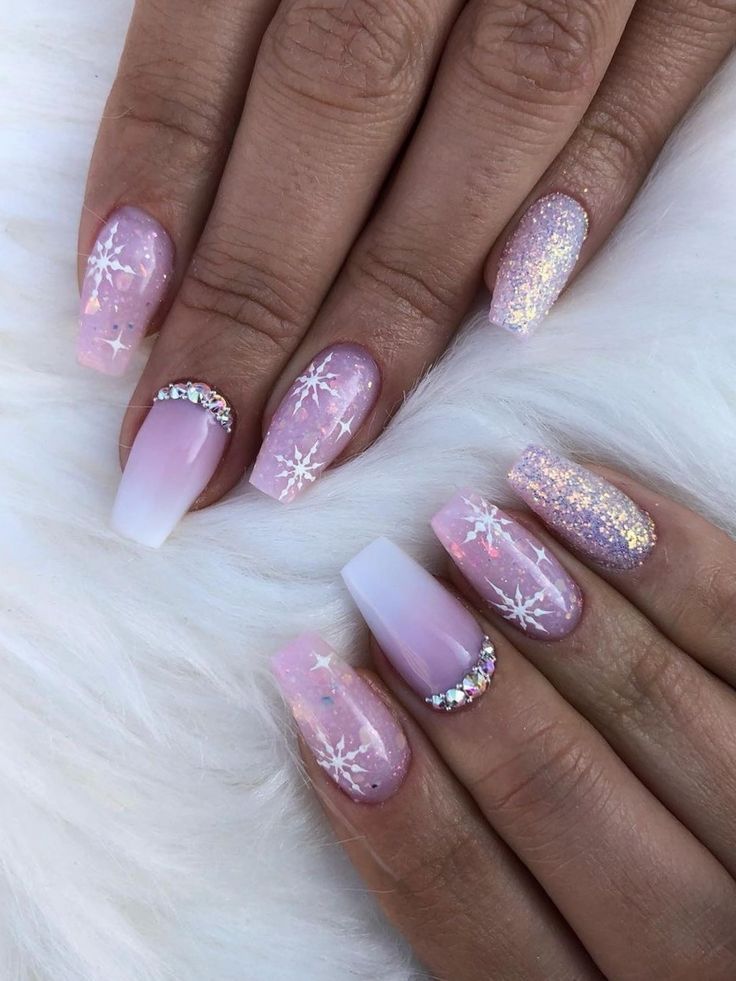
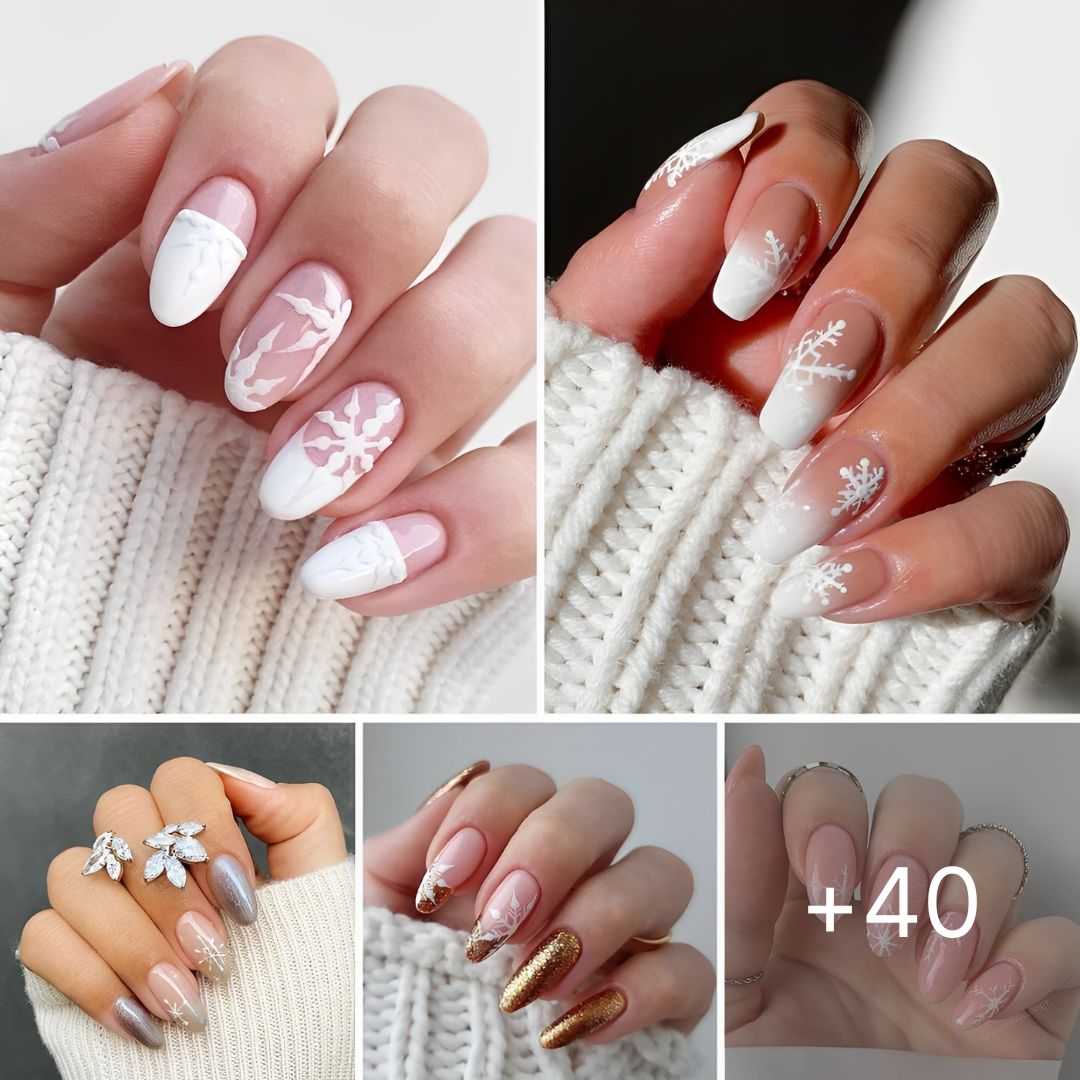
Snowflake nails are a charming and festive nail art design that perfectly complements the winter season. Whether you’re preparing for the holidays or just want to embrace the snowy vibes, snowflake nails are a delightful choice. Here’s how to create this wintery nail art:
Materials You’ll Need:
- Base coat
- White nail polish (for the background)
- Light blue or silver nail polish (for the snowflakes)
- Thin nail art brush or nail dotting tool
- Clear top coat
- Nail polish remover and cleanup brush (for touch-ups)
Step-by-Step Guide:
- Prepare Your Nails:
- Start by ensuring your nails are clean, dry, and shaped as desired.
- Apply a base coat to protect your natural nails and help the nail polish adhere better.
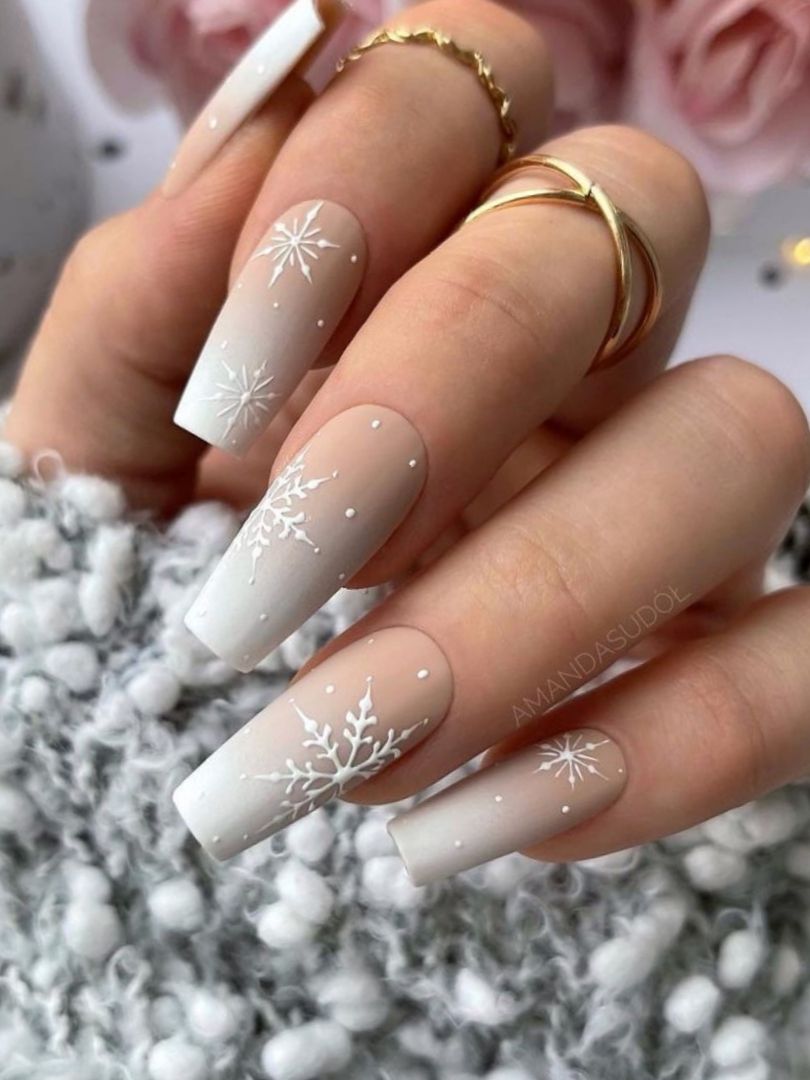
- Paint the Base:
- Apply a coat of white nail polish to all your nails as the background. Let it dry completely.
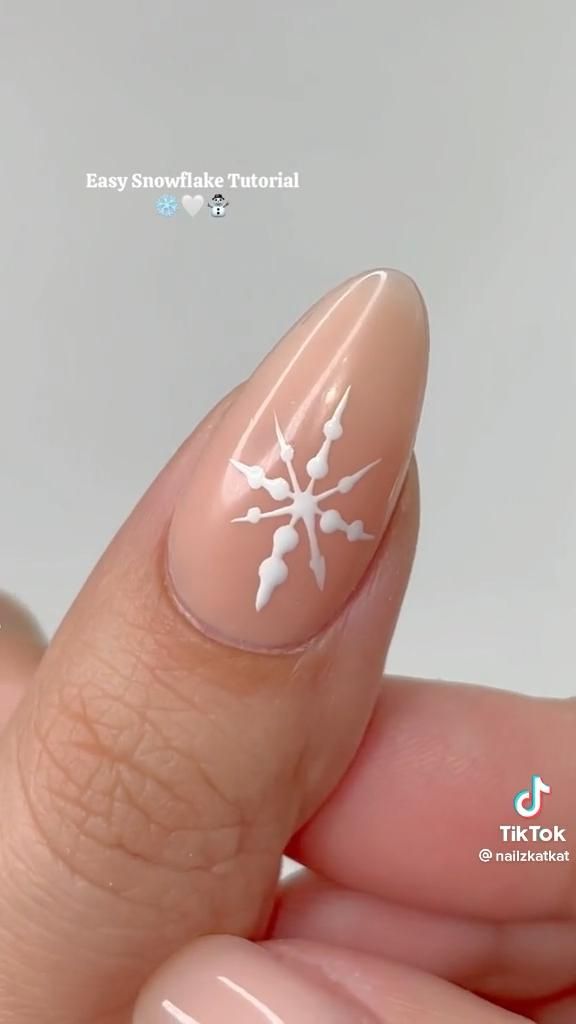
- Create Snowflakes:
- Dip your thin nail art brush or nail dotting tool into the light blue or silver nail polish.
- Begin by painting a small “+” shape in the center of your nail. This will be the base of the snowflake.
- Extend lines outward from the center to create the arms of the snowflake. These lines should be thin and delicate.
- Add smaller lines branching off from the main arms to give the snowflake a detailed look.
- Repeat this process on each nail where you want to place a snowflake. You can create multiple snowflakes on a single nail or opt for a single, intricate snowflake on each nail.
- Add Dots:
- To mimic the look of ice crystals, add tiny dots around the snowflake using the same light blue or silver nail polish.
- Seal with Top Coat:
- Once you’re satisfied with your snowflake design and it has dried, apply a clear top coat over your nails.
- The top coat not only adds shine but also helps protect the design and make it last longer.
- Clean Up Edges:
- If you accidentally paint outside the lines or have any polish on your skin, use a nail polish remover and a cleanup brush or cotton swab to tidy up the edges.
- Allow to Dry:
- Allow your nails to dry completely before going about your day.
Now you have gorgeous snowflake nails to showcase during the winter season. These wintery nails are perfect for holiday parties, snow days, or just embracing the beauty of the season. Customize your snowflake nail art by experimenting with different snowflake designs, colors, and placement on your nails. Enjoy the festive and wintry vibes!